**How to Use AdSense with Google Sites: A Step-by-Step Guide to Monetizing Your Website**
**How to Use AdSense with Google Sites: A Step-by-Step Guide to Monetizing Your Website**
Once upon a time, in the bustling world of online content creation, there was a passionate blogger named Sarah. Sarah had built a beautiful website using Google Sites, filled with her travel stories, tips, and stunning photography. She loved sharing her adventures, but she also dreamed of turning her passion into a source of income. One day, she stumbled upon Google AdSense—a tool that could help her monetize her website. Intrigued, she decided to dive deeper and learn how to use AdSense with Google Sites. Here’s her journey, filled with expert insights, SEO tips, and the importance of backlinks.
---
### Chapter 1: Understanding the Basics
Sarah began by researching what Google AdSense was. She learned that AdSense is an advertising platform that allows website owners to display targeted ads on their sites. When visitors click on these ads, the website owner earns a small commission. It sounded simple, but Sarah knew she had to meet certain requirements before she could get started.
**Expert Insight:**
“Google AdSense is a great way to monetize your website, but it’s not a ‘get-rich-quick’ scheme. Focus on creating high-quality content that attracts visitors, and the earnings will follow,” said Mark, a digital marketing expert Sarah consulted.
---
### Chapter 2: Preparing Her Google Site
Before applying for AdSense, Sarah made sure her Google Site was ready. She checked the following:
1. **Content Quality:** She ensured her site had original, valuable, and engaging content. Google values quality over quantity.
2. **Privacy Policy and Contact Page:** She added a privacy policy page to comply with AdSense requirements and a contact page for transparency.
3. **SEO Optimization:** Sarah optimized her site for search engines by using relevant keywords, meta descriptions, and alt text for images.
**SEO Tip:**
“Use tools like Google Keyword Planner to find keywords related to your niche. Incorporate them naturally into your content to improve your search engine rankings,” advised Mark.
---
### Chapter 3: Applying for Google AdSense
With her site ready, Sarah applied for Google AdSense. Here’s how she did it:
1. She signed in to her Google account and visited the [AdSense website](https://www.google.com/adsense/).
2. She clicked on “Start Now” and filled out the application form, providing details about her website and content.
3. She submitted the application and waited for approval.
**Pro Tip:**
“Make sure your site has at least 10-15 high-quality posts before applying. Google prefers sites with substantial content,” Mark reminded her.
---
### Chapter 4: Adding AdSense to Google Sites
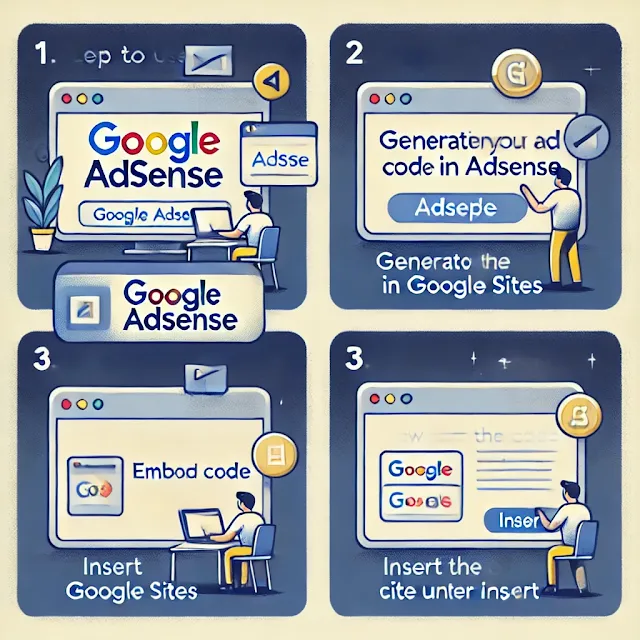
A few days later, Sarah received the good news—her AdSense application was approved! She followed these steps to integrate AdSense with her Google Site:
1. She logged into her AdSense account and copied the ad code provided.
2. She opened her Google Site, navigated to the page where she wanted to display ads, and clicked on “Embed.”
3. She pasted the AdSense code into the embed box and saved the changes.
**Expert Insight:**
“Place ads strategically—above the fold, within content, or at the end of posts. Avoid overcrowding your site with ads, as it can harm user experience,” Mark suggested.
---
### Chapter 5: Driving Traffic and Building Backlinks
Sarah knew that to earn from AdSense, she needed traffic. She focused on two key strategies:
1. **SEO Optimization:** She continued to optimize her content for search engines, targeting long-tail keywords like “budget travel tips for Europe” and “best hiking trails in South America.”
2. **Building Backlinks:** Sarah reached out to other travel bloggers and websites, asking them to link to her content. She also guest-posted on popular travel blogs, earning valuable backlinks.
**SEO Tip:**
“Backlinks are like votes of confidence for your site. The more high-quality backlinks you have, the higher your site will rank on Google,” Mark explained.
---
### Chapter 6: Monitoring and Optimizing Performance
Sarah didn’t stop after setting up AdSense. She regularly monitored her AdSense dashboard to track her earnings, click-through rates (CTR), and ad performance. She experimented with different ad placements and formats to see what worked best for her audience.
**Expert Insight:**
“A/B testing is crucial. Try different ad sizes, colors, and positions to find the perfect combination that maximizes revenue without compromising user experience,” Mark advised.
---
### Chapter 7: The Rewards of Her Hard Work
Months later, Sarah’s efforts paid off. Her Google Site was attracting thousands of visitors every month, and her AdSense earnings were steadily growing. She even reinvested some of her earnings into creating more content and promoting her site on social media.
**Final Tip:**
“Consistency is key. Keep publishing great content, optimizing for SEO, and building backlinks. Over time, your AdSense earnings will grow,” Mark concluded.
---
### The End (or Just the Beginning)
Sarah’s journey with Google AdSense and Google Sites was just the beginning. She continued to learn, adapt, and grow her online presence. Her story is a testament to the power of persistence, quality content, and smart monetization strategies.
If you’re inspired by Sarah’s story, why not start your own journey? With the right approach, you too can turn your Google Site into a thriving, income-generating platform. Happy blogging!
---
**Key Takeaways:**
- Focus on creating high-quality, SEO-optimized content.
- Build backlinks to improve your site’s authority.
- Experiment with ad placements to maximize AdSense earnings.
- Monitor your performance and adapt your strategy as needed.
By following these steps and learning from experts like Mark, you can successfully use AdSense with Google Sites and turn your passion into profit.


Comments